M-Tool allows you to populate the tool with factors that are relevant for your project. These factors can be generated by your mental model target group, for example through short interviews or surveys (e.g. What are the elements of [a system], What factors do you think drive…, what are the consequences of …). Alternatively, you may be interested to see if your target group would make certain connections based on an existing set of factors. These factors may be informed by pre-existing knowledge of a system, i.e. to assess if you target group can draw up the ‘correct’ dynamics between factors. Furthermore, you can replace the audio instructions and videos with your own files to adapt the instructions to your needs, or to translate it to the relevant language.
M-Tool Set Up Options
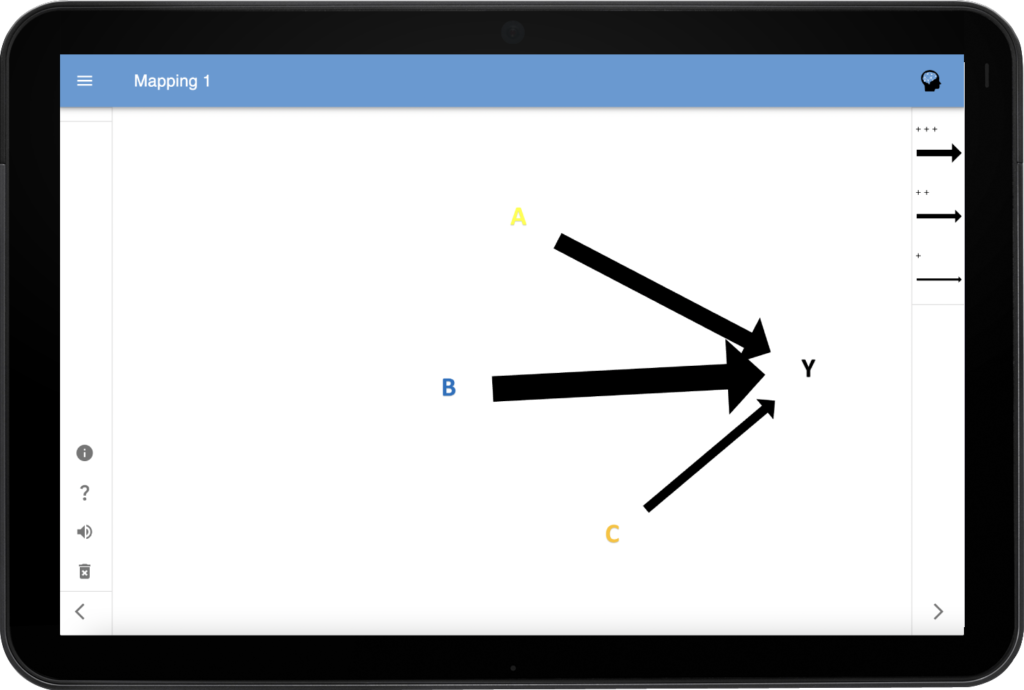
The drivers and consequences of a target variable (i.e. the fixed factor, Y on the screenshot on the left) can be mapped separately (by placing the target variable on the left for mapping screen 1 and on the right for mapping screen 2). This eases the cognitive demands on the respondents.
The drivers and consequences of a target variable can be mapped at once, so a respondent can show how the drivers and consequences can influence each other (e.g. by placing the target variable in the middle).
The tool can be set up without a target variable/fixed factor, so the respondent maps the entire system.This means that you can map any aspects of any system (e.g. network of actors, dynamics of an ecosystem etc.).
How to Use M-Tool
To get started using M-Tool, follow these simple steps:
Generate a list of relevant factors for the respective system.
Turn these factors, as well as your ‘target variable’ (if applicable) into images (e.g. through a freelance graphic designer platform like Fiverr or use images with text).
Create a video that explains the meaning of each image (e.g. with PowerPoint)
Extract the audio files from this video for each image (e.g. using PowerPoint)
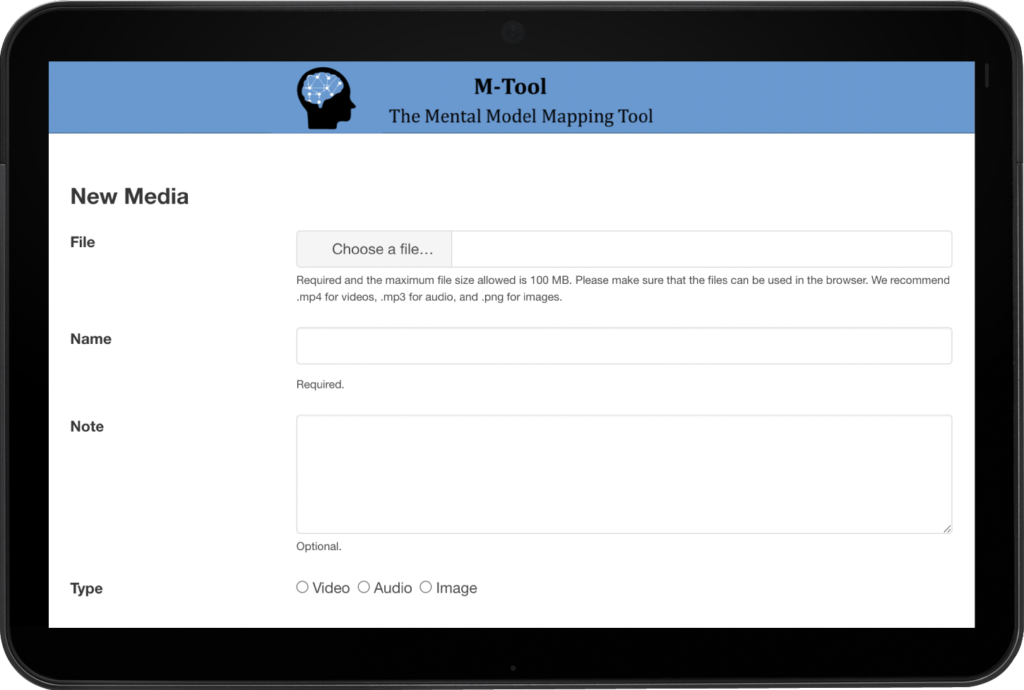
Save these files on your device, then upload these files in the app under upload files. (Note: the files to be uploaded should not exceed 150MB.)
Set-up the uploaded files under the respective headings under settings. Choose whether you want 1 or 2 mapping screens, whether to include positive and negative arrows, and whether/where to place the target variable.
The tool is set-up, and you are ready for data collection.
Manual
For more information on how to set up the tool for your project, you can download the manual for the app here.